
Tips to Repair Plaster That’s Cracked or Broken
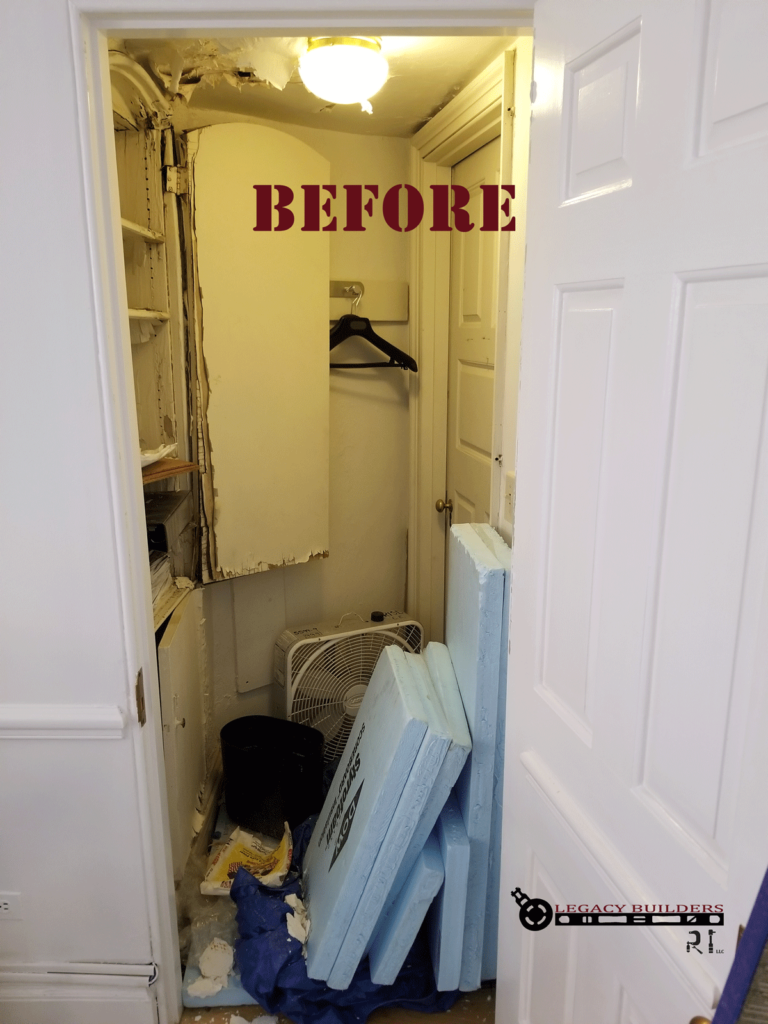
When plaster starts to crack or break apart, it can be a serious problem. The chinks in your walls provide a cozy feeling and a decorative texture, but they can also be a source of moisture, wind, and noise. If they become damaged and allow moisture to seep through, they can even become a safety hazard. If a crack forms in your plaster, it’s time to take action. Fortunately, there are plenty of ways to repair plaster that’s cracked or broken. Keep reading to discover some great tips.
Seal The Crack
Once you’ve determined that a crack in your plaster wall is a problem, the first step is to seal the crack. A good sealer will help prevent water from getting into the wall and reduce the chance of mold and mildew. Once the crack is sealed with a good sealer, you can apply the plaster filler to fill in any holes and cracks in the wall.
Apply Plaster Filler
If you have a large hole in your wall, it might be best to just patch the plaster and call it a day. But if you have a small hole or crack, you can use the plaster filler to patch it up. The best part about this is that you can use your handy dandy roll of duct tape to patch the cracks. If you want to be a little more careful with your repair work, you can use a putty knife to even out any air pockets in the plaster.
Repair Drywall That’s Cracked
If the drywall in your home is cracked, you can use plaster patching compound to help fill in the cracks and smooth out the surface. For best results, you’ll want to clean the surface and roughen it up with a texture sander. Make sure to wear a dust mask and protective clothing to avoid breathing in any dust. After you’ve sanded the surface, apply the plaster patching compound with a paint roller or a roller attachment for a stick/calk gun.
Apply Plaster Patch
If you have a small area of plaster that’s cracked, you might be able to patch it with a plaster patch. First, clean the surface and roughen it up with sandpaper or a grit block. Once it’s as rough as you can get it, use a trowel to scribe a line across the area you want to patch. Use this line as a guide to pour concrete patching compound into the lines. Once it’s set, smooth it out and you’re ready to patch the crack!
Cover the Area with Plastic to Seal in the Repairs
As you’re repairing the cracks in your plaster, you’ll want to make sure they’re completely dry before you cover them up. Plastic is a great way to do this. Simply use a trowel to place a plastic liner into the cracks and holes. Leave a little room at the top so water can’t seep in. Then, use a roller to cover the plastic with a thick layer of plaster patching compound. Make sure to smooth it out so the plastic doesn’t stick out too much. After 24 hours, you can remove the plastic and smooth out the surface to reveal your beautiful repaired plaster!
Use Minimalism to Your Advantage
While you want your walls to look as beautiful as possible, you don’t want to sacrifice functionality for style. In cases where a section of your wall is damaged, it’s best to simply replace the drywall. This will ensure that your walls are as sound as possible and that there are no holes that could lead to structural problems. If you’re replacing the drywall in a large section of your wall, it’s best to hire a contractor.
Conclusion
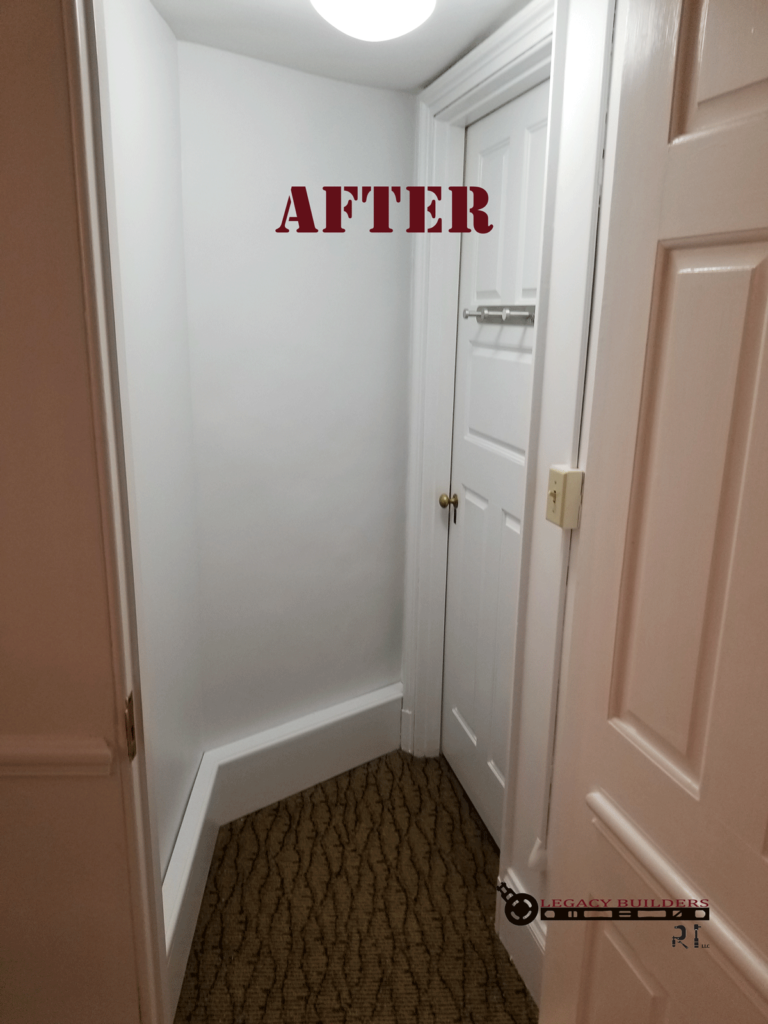
We hope this guide has provided you with some great tips to help you out with plaster that’s cracked or broken. Keep in mind that these methods will only work if you can reach the cracks and holes in your plaster! When a job is too big or time-consuming and you need a professionals’ help give us a call! Our work speaks for itself.